
Makeblock, robots for kids (and adults)
When I left the Port of Rotterdam (over a year ago) as consultant/software developer I got a lot of cool gifts. Amongst the gifts was a small blue box from Makeblock, called the ‘robot starter kit’. It was put away on my desk and sadly I’d forgotten about it. But recently a colleague of mine showed us the robot his daughter made. She got a similar robot from Makeblock for her birthday and it ‘became her new best friend’. He asked her if he could borrow the robot for one day and show it to us at work, she reluctantly said yes.
When I got home I suddenly remembered the blue box I had laying around in the corner of my desk. I decided to show it to my 3 year old daughter. She loved the idea of having her own little robot in her room. Searching online I couldn’t find a suggested appropriate age for these robots so I figured: if she wants to try, just go for it!
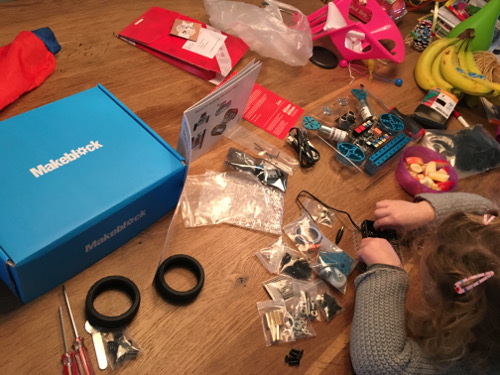
She immediately jumped in and started handling the screwdriver like a pro. I was amazed to see the dedication, concentration and dexterity, when I was younger I had none of the three. In about half an hour we had the base constructed and she lost interest for a little while. I decided to continue alone for 10 minutes and the only thing left to do was assembling the tank tracks. So I called her over and we decided to hold a little race, 20 rubber pieces for me, 20 for her. It was a pain to assemble, but by introducing a small competition I only had one track to assemble, she did the other one all by herself.
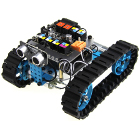
The cool thing about these robots is their simplicity: The frame goes together quickly with a couple of screws and removable rivets. All the electronics are connected by RJ25 (telephone) jacks. The kit I got had an IR-receiver (+ remote) and ultrasonic sensor. The remote is great because she is too young for programming. The moment you put it together and place the batteries you can start driving the robot around. She loved it, look at her proud smug face:

Next thing I’ll do it to teach it how to dance! Then I’ll teach it how to clean my room.
That evening, when she was vast asleep, I started working on the programming. The main board in this robot is compatible with an Arduino. To program the robot you connect it to your laptop using USB and fire up the Arduino IDE with the Makeblock library. Commands are very simple to use, for example reading the distance sensor is: ‘ultraSensor.distanceCm()’. That night, when my daughter was sleeping, I added an automatic drive-mode so the robot would drive around randomly avoiding all obstacles with help of the ultrasonic sensor. When she woke up I told her ‘go ahead and hit the 0 on the remote!’. She was blown away, her little robot had grown a mind of its own!
When she is a bit older we’re going to try out the mBlock/Scratch plugin. Scratch (for those unfamiliar) is an environment where you can visually program with graphical blocks. It is a drag and drop environment and works very well as a first programming tool for kids. It is also something we regularly use at Devoxx4Kids
Things I like about the Makeblock robot:
- Easy to assemble (even for a 3yo)
- Instructions had a lot of images
- Fun to program
And of course, it isn’t perfect, things I didn’t like:
- Should come with a CR2025 coin cell battery for the remote (I had to race to the store to get one)
- Instructions only had images, nothing else (bit too brief)
Nontheless: Every parent should buy one!